

How to take a screenshot on Mac
Understanding and knowing how to screenshot on Mac is a rather useful skill, and one that will come in handy at some bespeak during your fourth dimension with Apple's laptops.
Whether you demand to take a quick snap of the screen to show someone a quick picture, or you'd similar to capture a specific portion, then we've got you covered.
Thankfully, the fine art of screenshotting is rather simple, whether yous're running MacOS Monterey, Big Sur, Catalina, or ones fifty-fifty further back, as the keyboard shortcut for doing so is nicely convenient. You lot can choose to either capture the entire screen or cull which specific section you lot'd similar to snap, and this tin even be helpful to show y'all the beginnings of screen-recording, likewise.
Hardware used
- 2020 xiii-Inch MacBook Pro
- MacOS Big Sur
- MacOS' Built-in Screenshot Tool
The Short Version
- Apply the screenshot tool manually (Cmd+Shift+v)
- Capture the unabridged screen (Cmd+Shift+3)
- Capture a section of the screen (Cmd+Shift+4)
- Capture a specific window (Cmd+Shift+4+Infinite Bar)
-
Step
i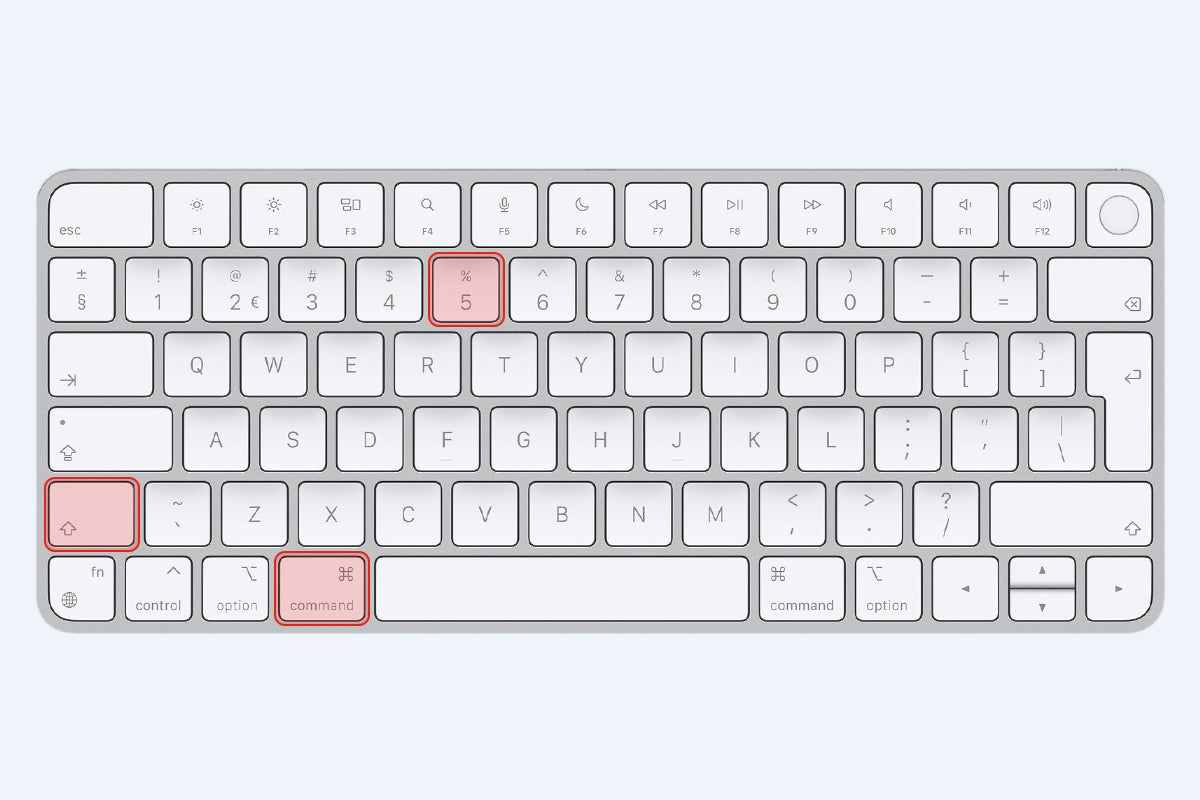
MacOS is an operating system known for keeping things simple and luckily, Apple has included a convenient screenshot tool that y'all tin can bring upwardly by pressing the keyboard shortcut Cmd+Shift+5. If you've got a MacBook with a Touch Bar, yous tin can likewise do it from in that location.
Doing and so will bring up a menu, from which you can conveniently choose to either capture the entire screen, capture a specific window or a window. Once yous select which specific option you'd similar and you've pressed downwardly on it, the cursor will change to a photographic camera icon, signifying you're taking a screenshot. Following this, press the 'Capture' push button, and the tool will snap your screen, and by default, it should be saved to your desktop. This default salvage location can be changed in the Options card inside the Screenshot app.
-
Step
2Capture the unabridged screen – (Cmd+Shift+3)
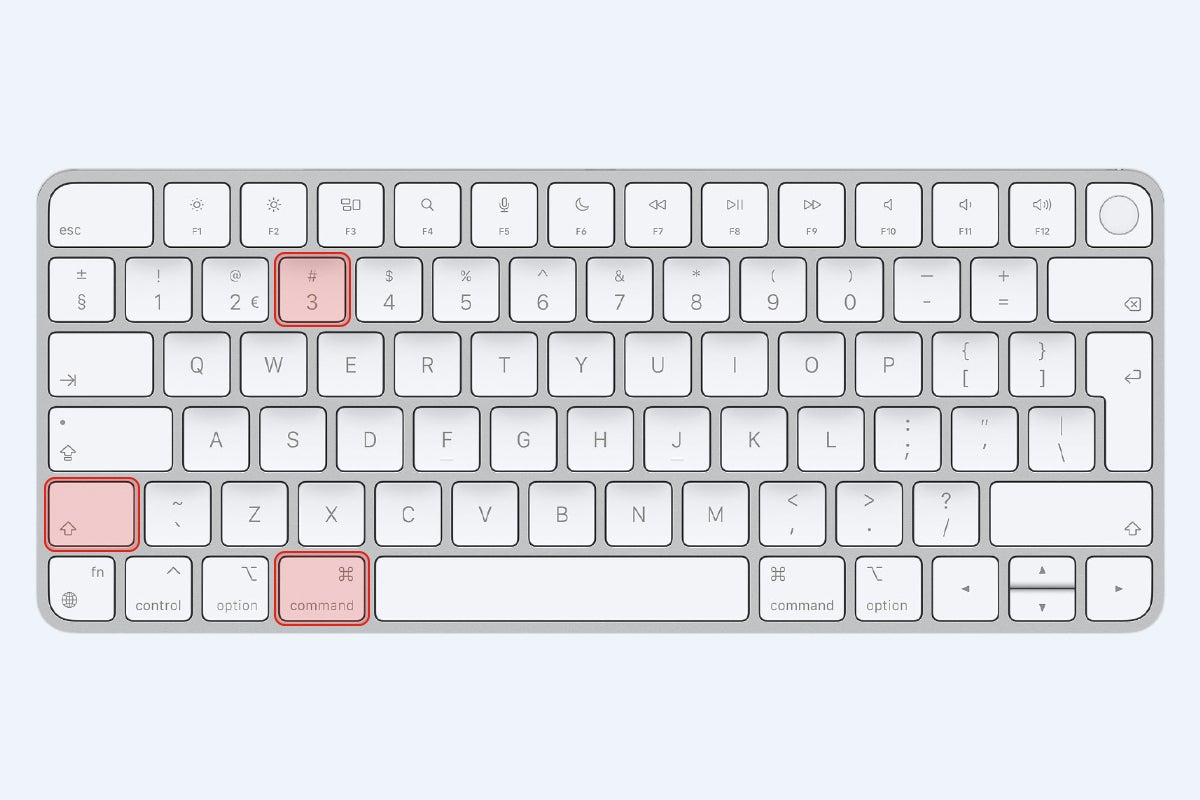
For capturing the entire screen with one speedy shortcut, hold down the Command, Shift and no. 3 key, and your screenshot will be saved directly to the Desktop, and be tagged with a file proper noun with a timestamp of the date and exact time of the screenshot.
-
Step
iiiCapture a department of the screen – (Cmd+Shift+4)
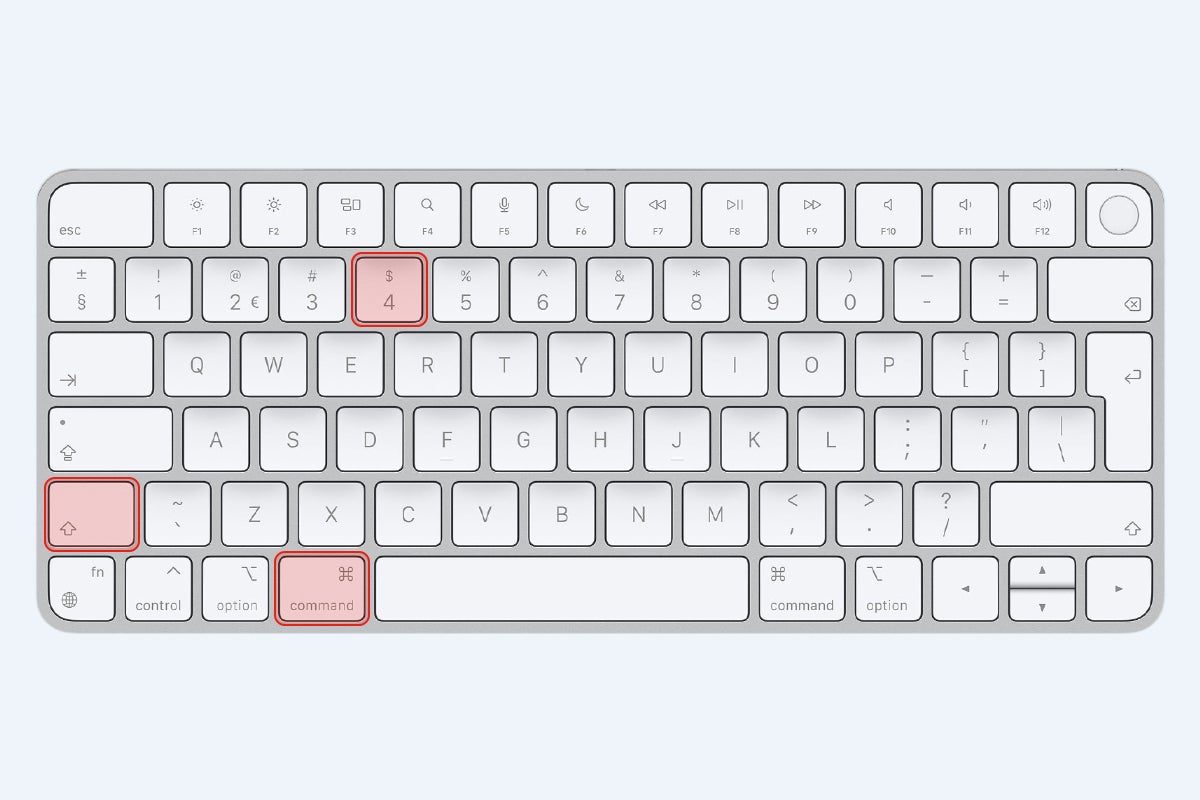
If y'all don't want to capture the entire screen and simply a specific section, then pressing Control, Shift and the no. 4 cardinal volition bring upwardly a crosshair that yous can employ to drag and select the portion you'd like to screenshot. If you practise need to cancel and change the selected portion, simply press the Esc key, and yous can then elevate boundaries to capture again.
-
Footstep
fourCapture a specific window – (Cmd+Shift+iv+Space Bar)
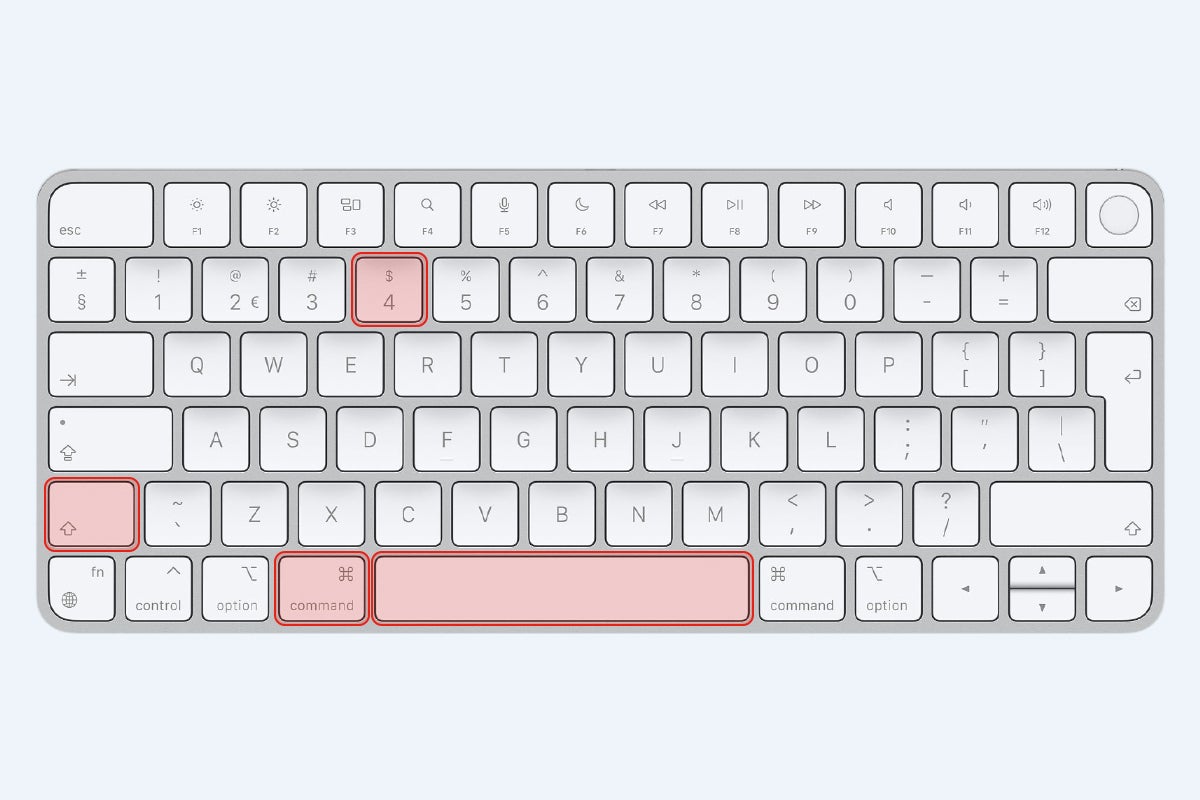
For just capturing ane specific window, information technology's a example of using a similar shortcut to capturing a specific section. This time around, you tin use Command, Shift, the No. 4 cardinal, and the Space Bar. Holding these down volition change the cursor to a photographic camera icon, and so you can then click the window or menu y'all'd like to capture. This volition be indicated by a bluish veil appearing atop the selected menu. If, for whatever reason, yous do need to cancel and effort again, then pressing the Esc key will allow you to reselect a window.
FAQs
I tried the keyboard shortcuts to screenshot, simply null happens. What can I do to prepare it?
To make certain the keyboard shortcuts for screenshotting are enabled, head into System Preferences, and then into the Keyboard section. Following this, click on the third table labelled Shortcuts, and and then to the fourth pick down on the left entitled Screenshots.
If they're enabled, you lot should see all the bachelor options characteristic bluish ticks adjacent to them. If not, exist sure to tick all the boxes so that they became enabled.
I tin can't take a screenshot using the Screenshot carte du jour. Is there a workaround?
If you can't take a screenshot on your Mac using the usual shortcuts, you tin use the Preview card which is the default program that opens when yous open an image file. To practice so in Preview, click File, and then go down to Have Screenshot from the drop-down menu.
You might like…

Source: https://www.trustedreviews.com/how-to/take-a-screenshot-on-mac-4034019
Posted by: izquierdoexpleseeptes1994.blogspot.com
0 Response to "How to take a screenshot on Mac"
Post a Comment